Bringing a good idea for a project to life can be a long and detailed process. Many clients need a solid idea of what they are looking for in the early stages of graphic design development. That’s why it takes a skilled team to put together a good design development process.
A designer’s work is a craft that requires skills that must be constantly sharpened. Below is an excellent step-by-step example of the design development process.
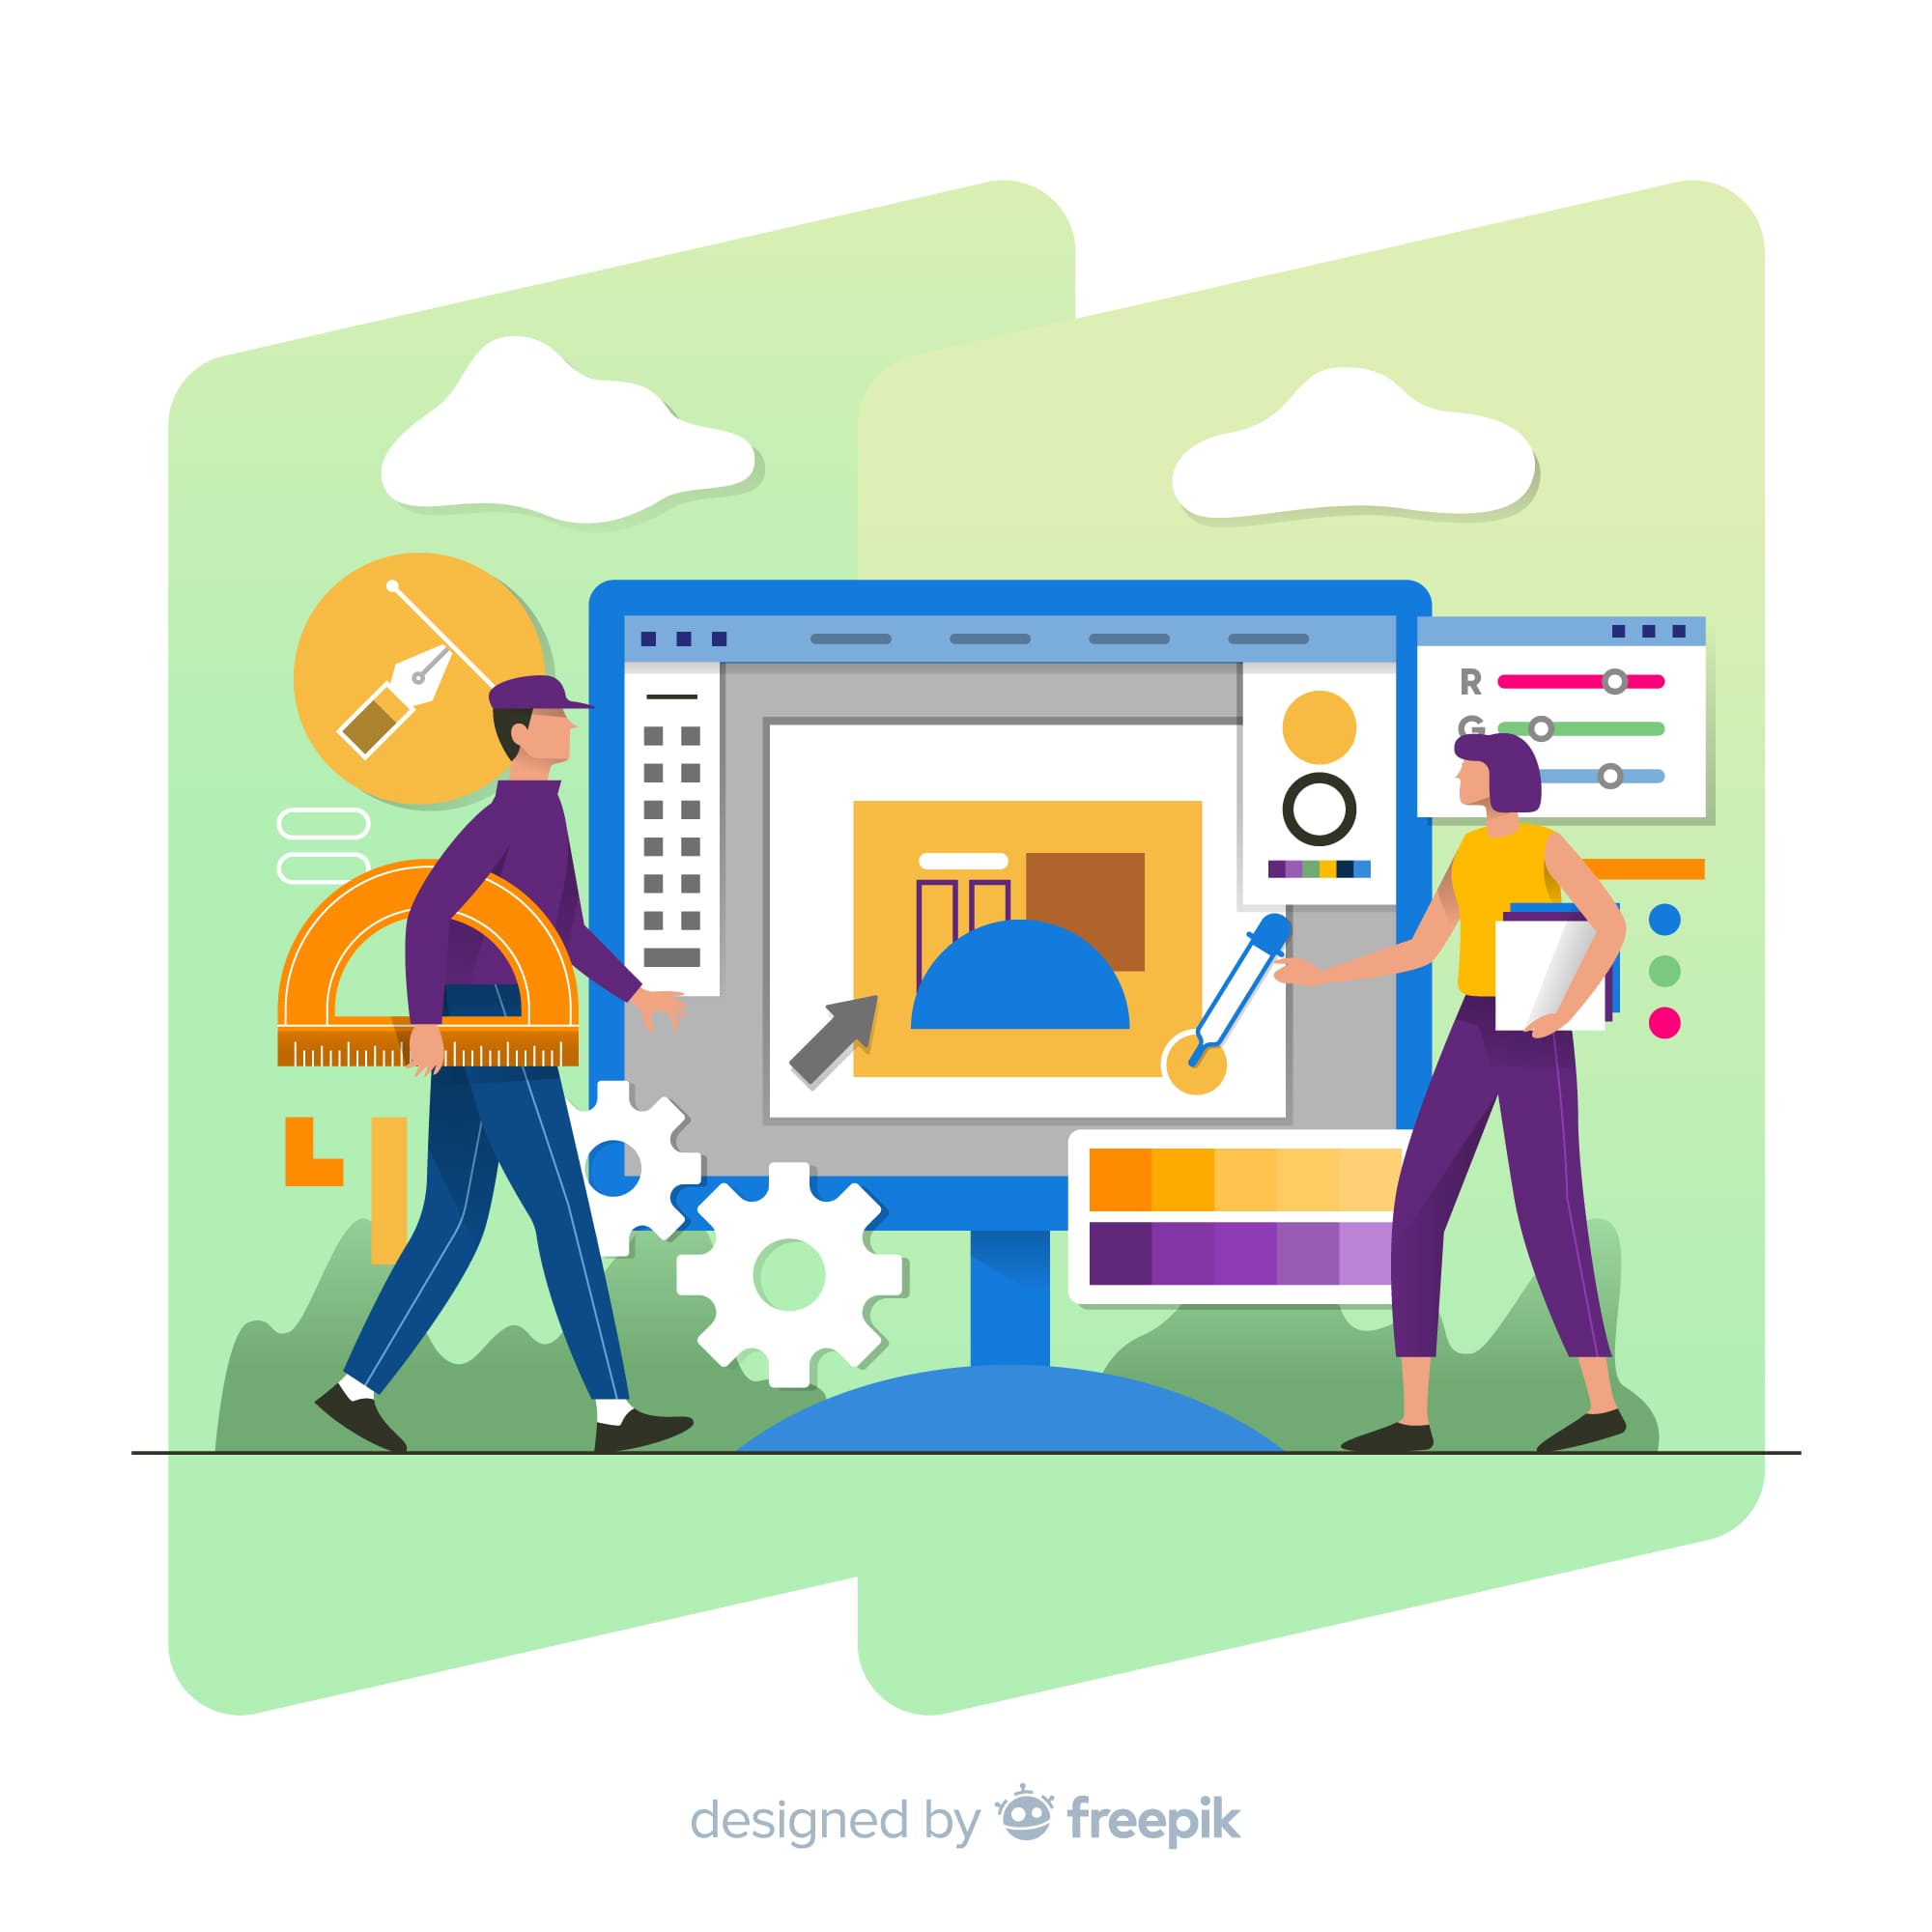
Step 1. Discuss with the customer before starting the design and development process: The first step of the entire design process starts with the customer. Discuss all the necessary details with them to better understand the purpose of the project, the audience it serves, the problems it can solve, and the client’s overall vision.
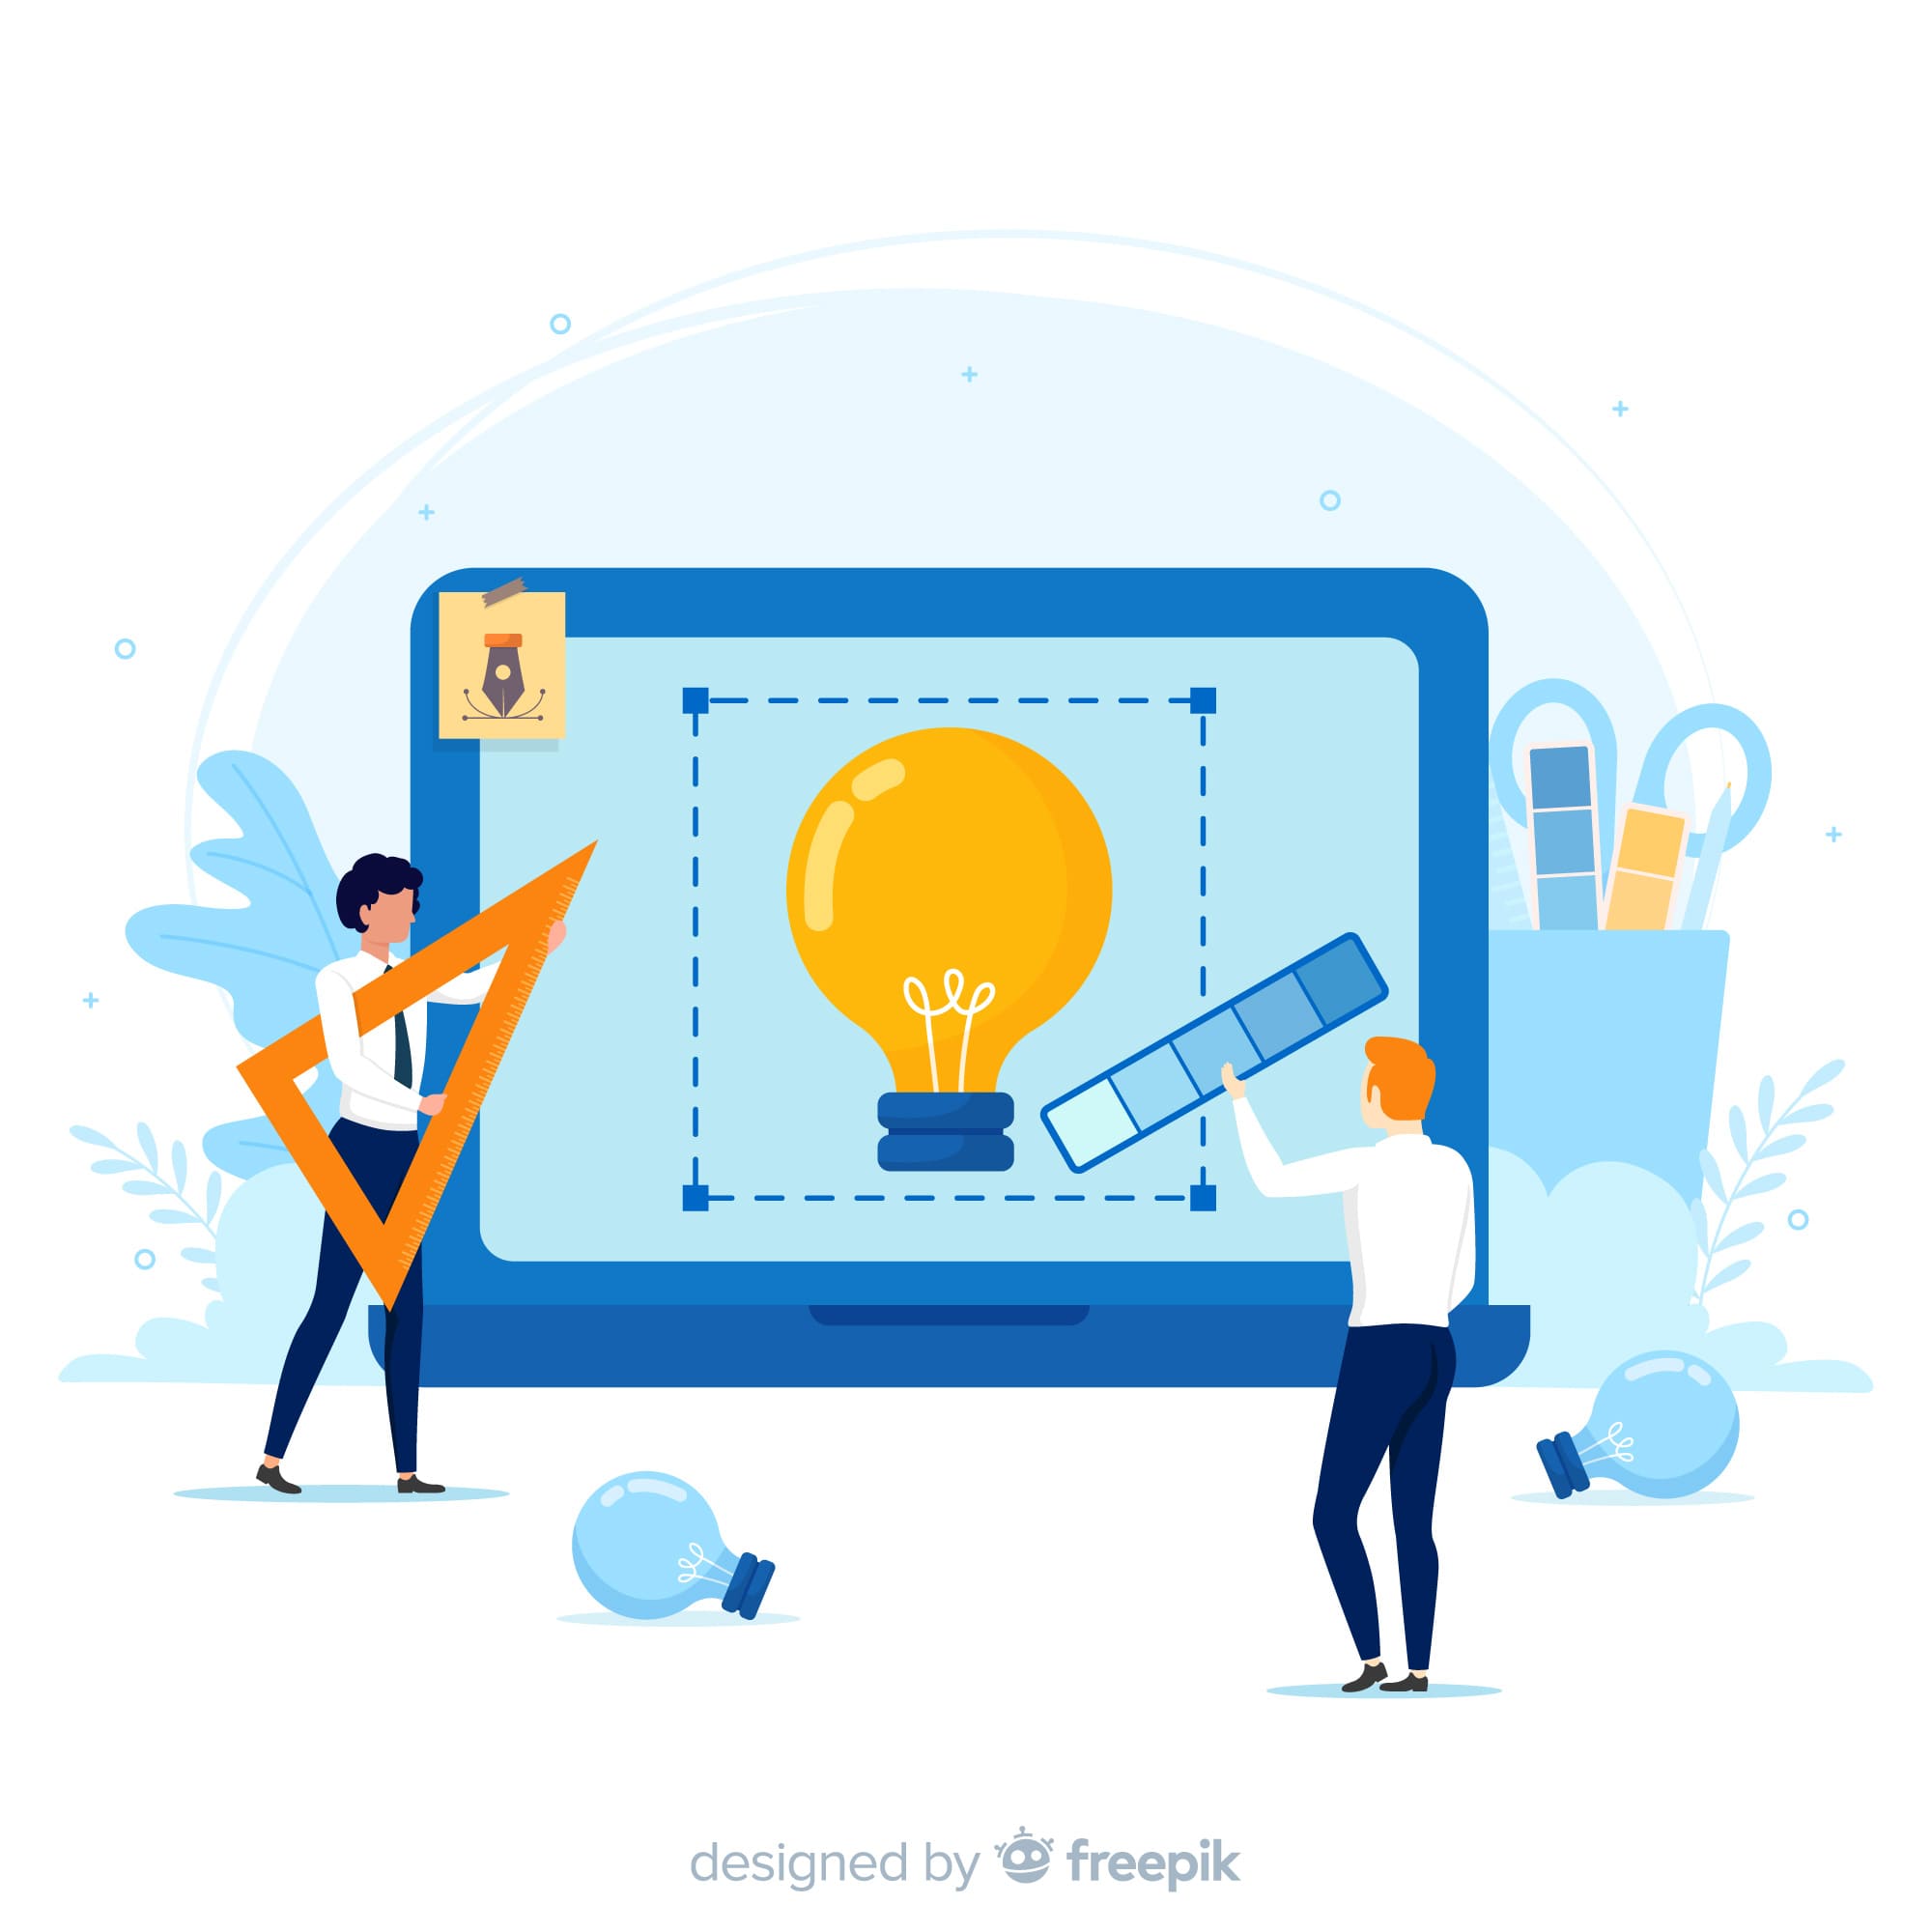
Step 2. Do The Research: After talking to customers,
1. Start researching.
2. Look for specific details about the product to study the market and project’s target audience and competitors.
3. Once the research is done, discuss it with the customer, get their feedback, and estimate the time required for the development.
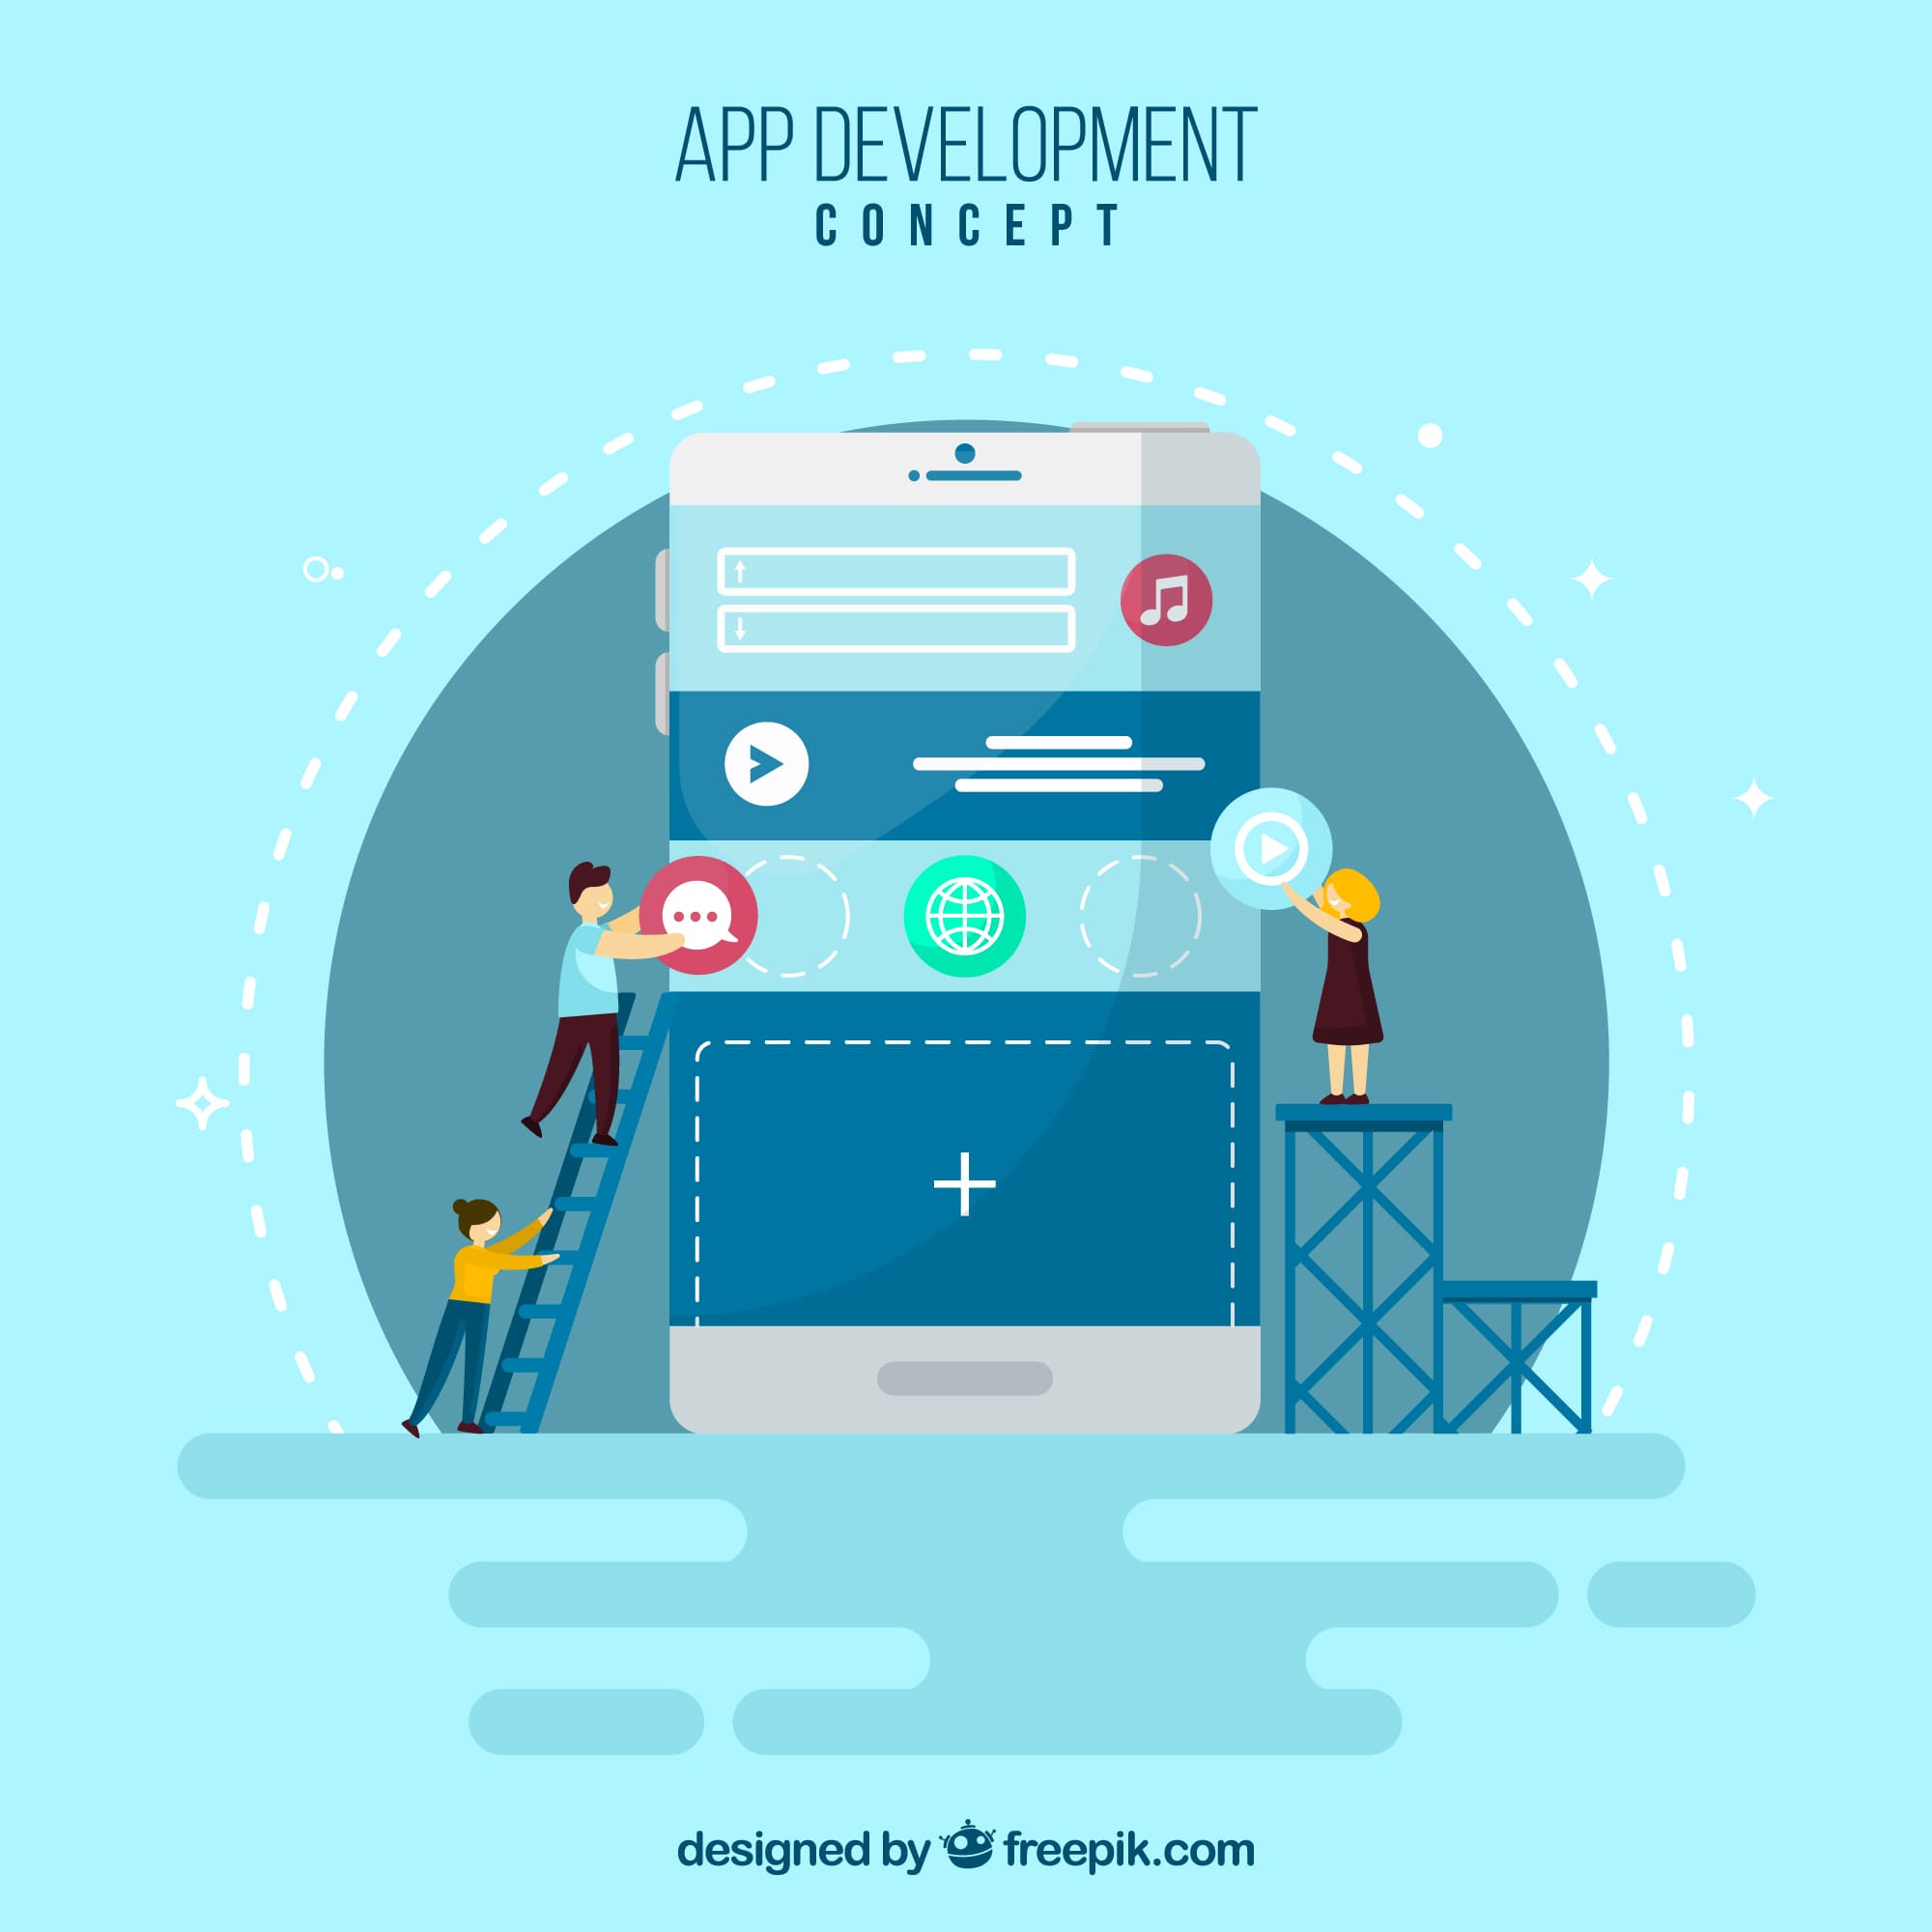
Step 3. Wireframe Design Process: If the client gives the project concept a “go,” the next step is to create a wireframe. Wireframes are interactive schematic pages of a site or application’s screen, like a blueprint.
Wireframe development can only be done with constant feedback and interaction with customers. Give suitable examples of what we want to do, get customer feedback, make changes, and get feedback again. This iteration is repeated until all the project details are well thought out, executed, and approved by the client.
Step 4. Determining The Design Development Process: The design development process involves the following:
1. Wireframing.
2. Creating a conceptual logo.
3. Designing the homepage or initial screens based on the wireframes and mood board.
Feedback from the customer is collected and incorporated into the design. Once the homepage is approved, work begins designing the internal pages, considering various interface elements and details. After the internal pages are approved, the design is customized for mobile devices and tablets, ensuring a professional and user-friendly experience across different devices.
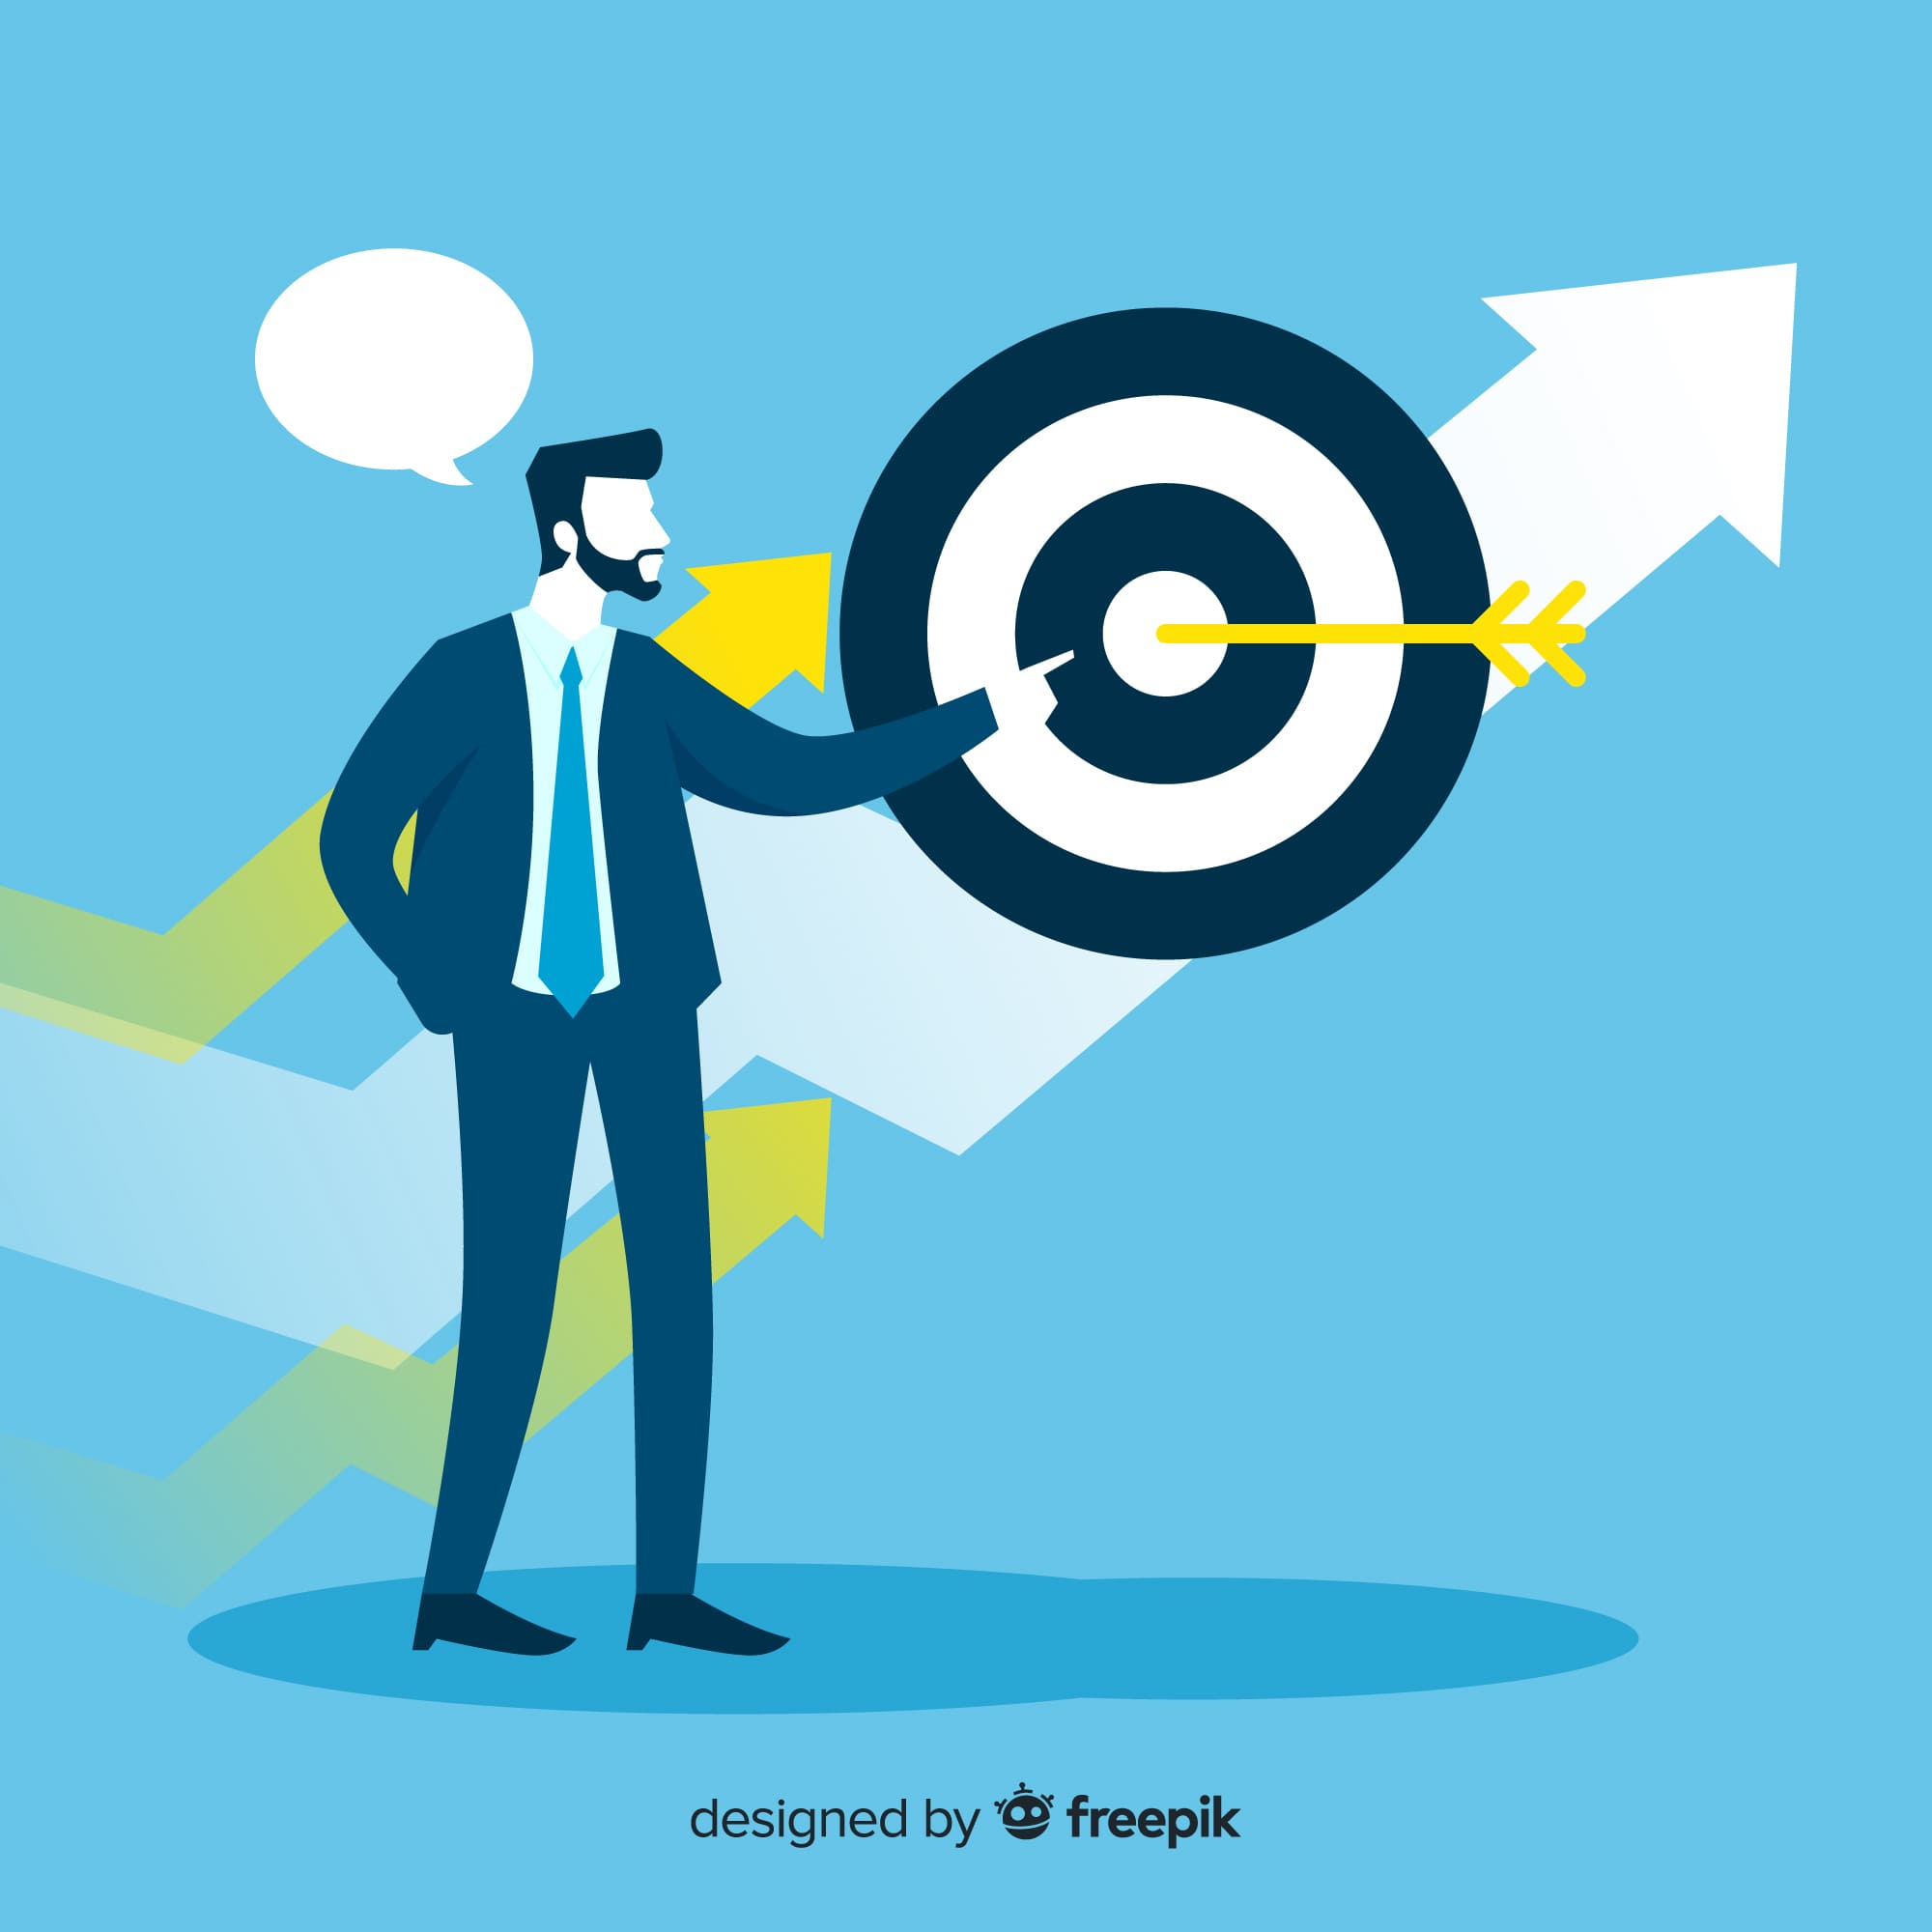
Step 5. Preparing Resources For Post-Launch: During the final stages of product design, the team prepares resources for post-launch, including adjusting icons, pictures, colors, and font sizes to fit the platform. For web projects, provide a mock-up with color palettes, fonts, and vector icons to ensure easy future development. The designer no longer communicates with the customer at this stage but provides this documentation if further development is required.
Step 6. Enjoy the final product after the design and development stages:
After all the hard work, the final product is launched after you go through the six steps of the design process, and customers can enjoy the festivities!
Resource:
https://steelkiwi.com/blog/design-development-process-6-steps/
https://www.artscapediy.org/creative-placemaking-toolbox/how-do-i-approach-the-design-development-process/
https://gillilandcm.com/2019/04/30/the-design-development-phase/
Disclaimer:
Wherever any material is quoted as sourced from the published text with publishing rights vested in an individual, it is stated that it is a pure quotation and has no intention to claim it as our own.
Image Source: www.freepik.com